Data Entry for Applicant Data
There are two ways to go to the Enter Applicants Data page. By Creating or Editing an ID you will be automatically forwarded to the "Enter Applicant Data" page, or by clicking the "Enter Applicant Data" button on the main page.
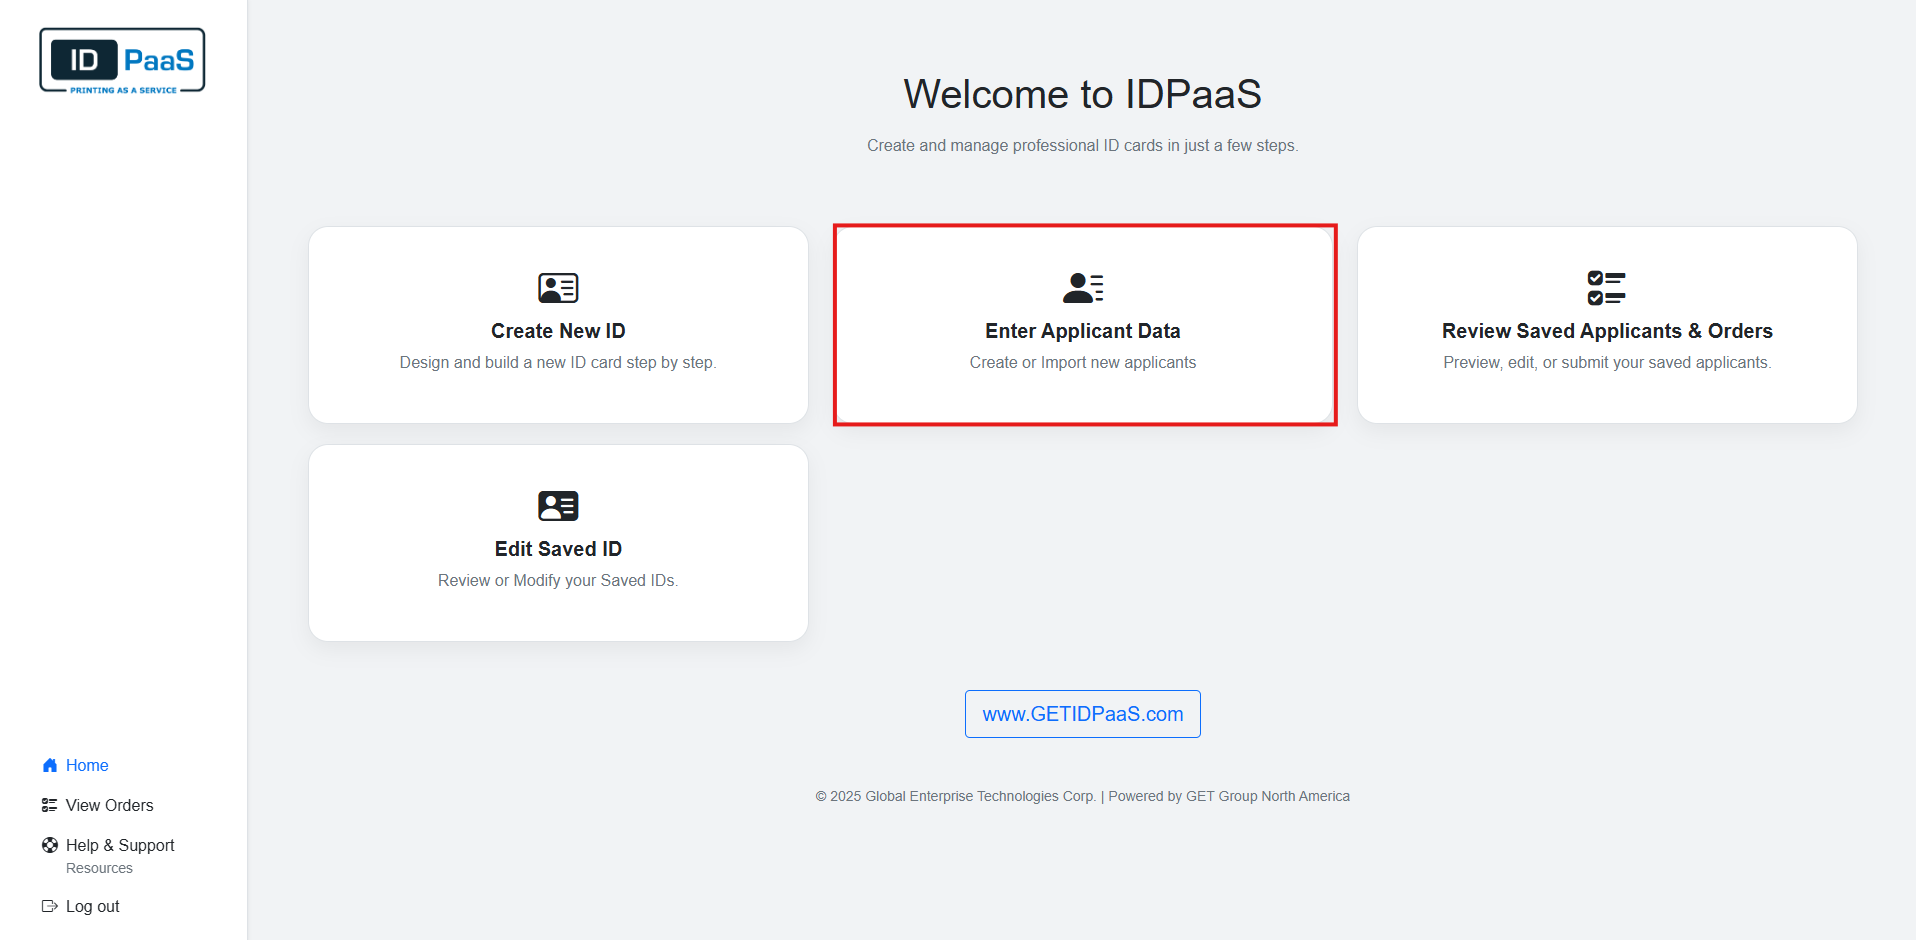
You will need to create an ID before accessing the Enter Applicants Data or Review Applicants page.
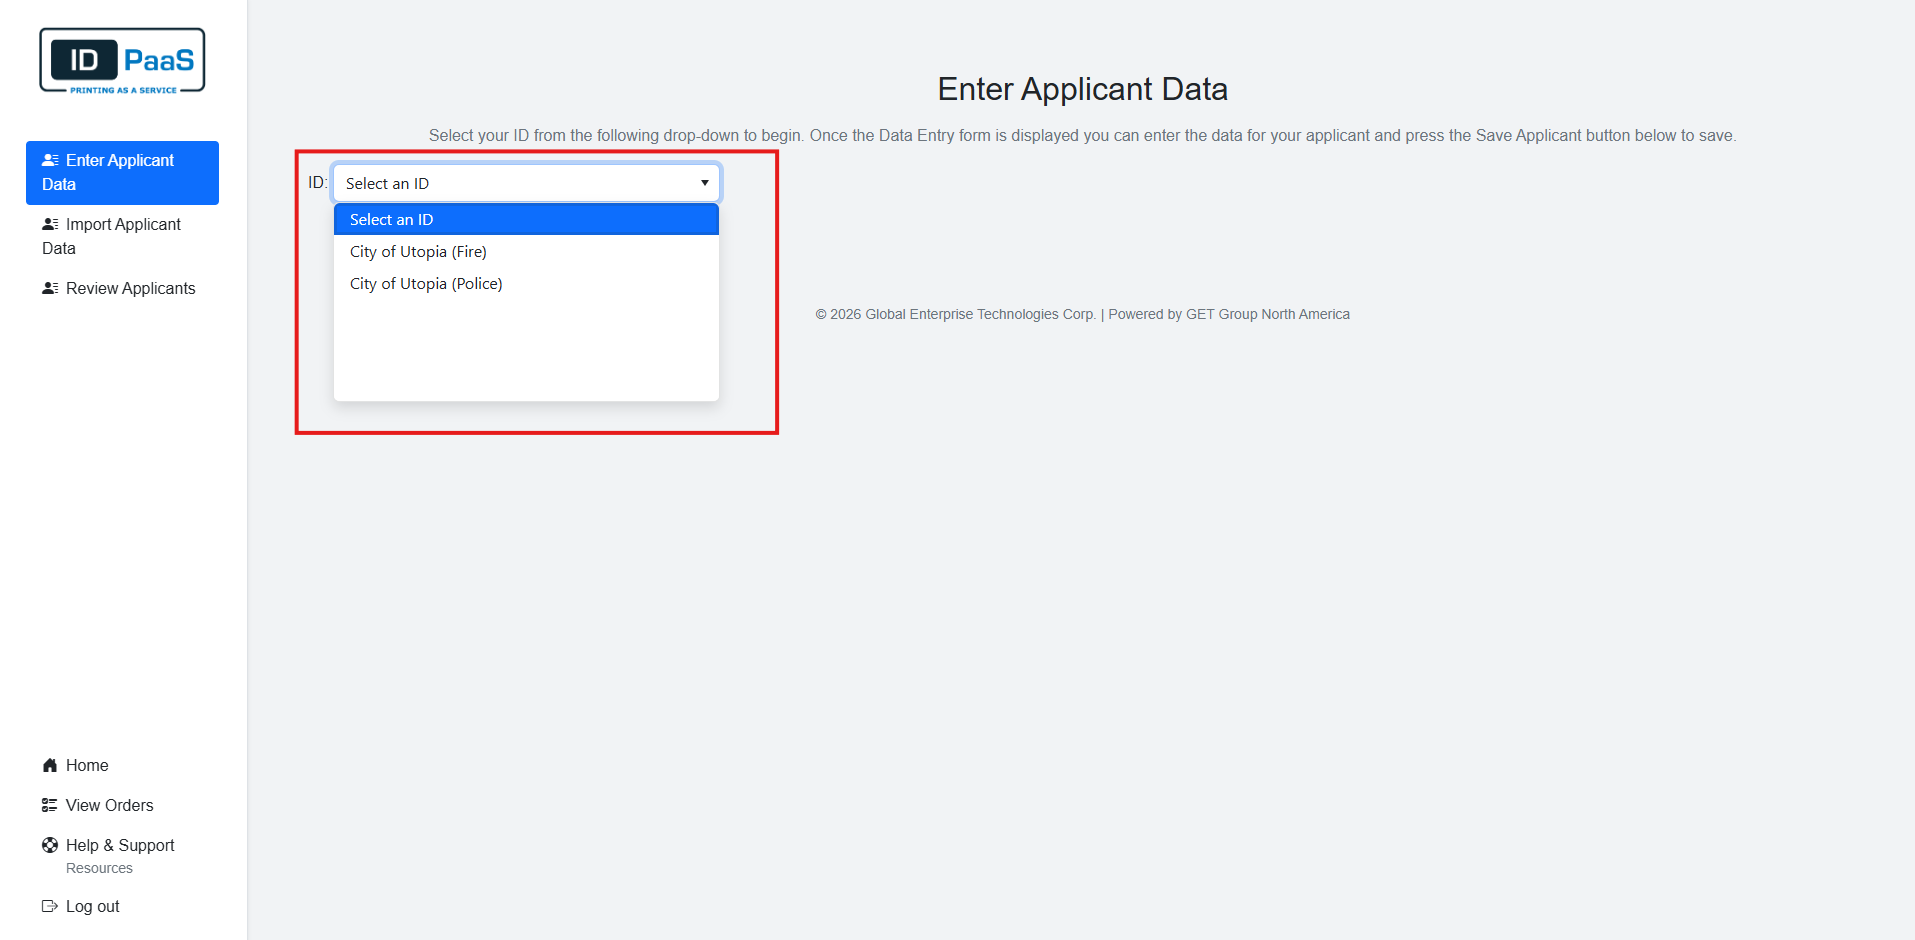
Once you load onto the page, you will see a brief description followed by a drop-down list. Clicking on the drop-down list will reveal all of your saved IDs. Please select the ID you wish to create an applicant for.
After you select an ID, the fields you have selected in Arrange Layouts will appear for you to fill out.
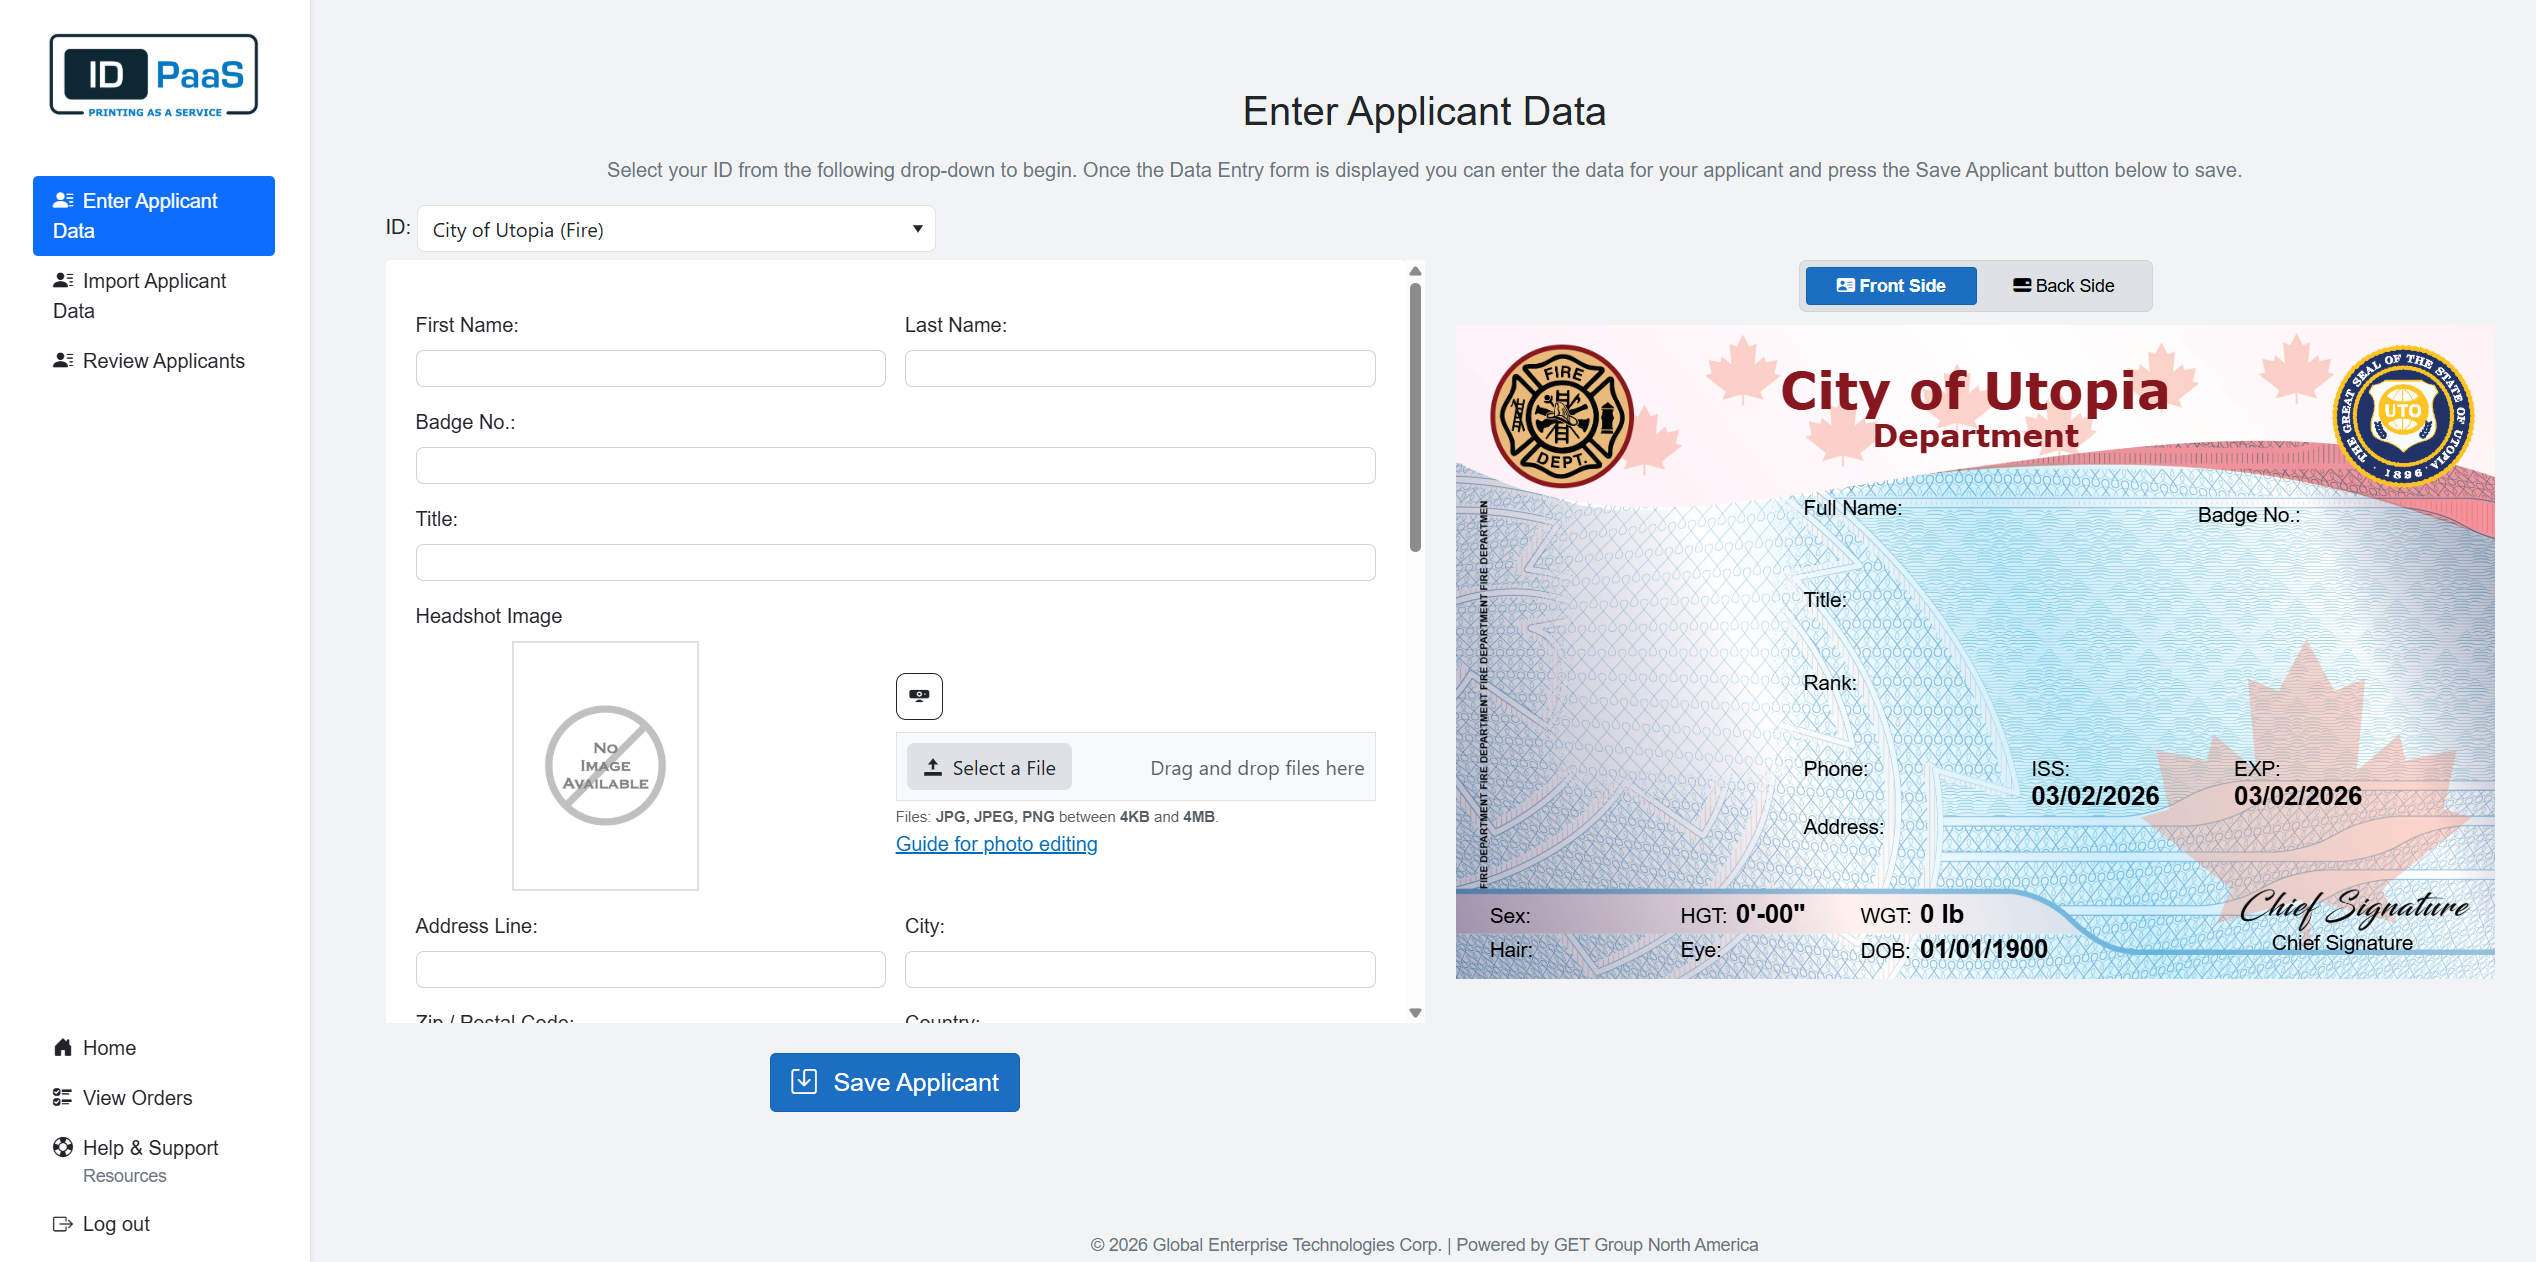
There are a few different types of Data you can enter or select.
- Text Boxes
- Selection for Drop-down List
- Calendar for any Date fields/Enter numbers manually
- Upload fields for Images
- Photo Capture for Portrait
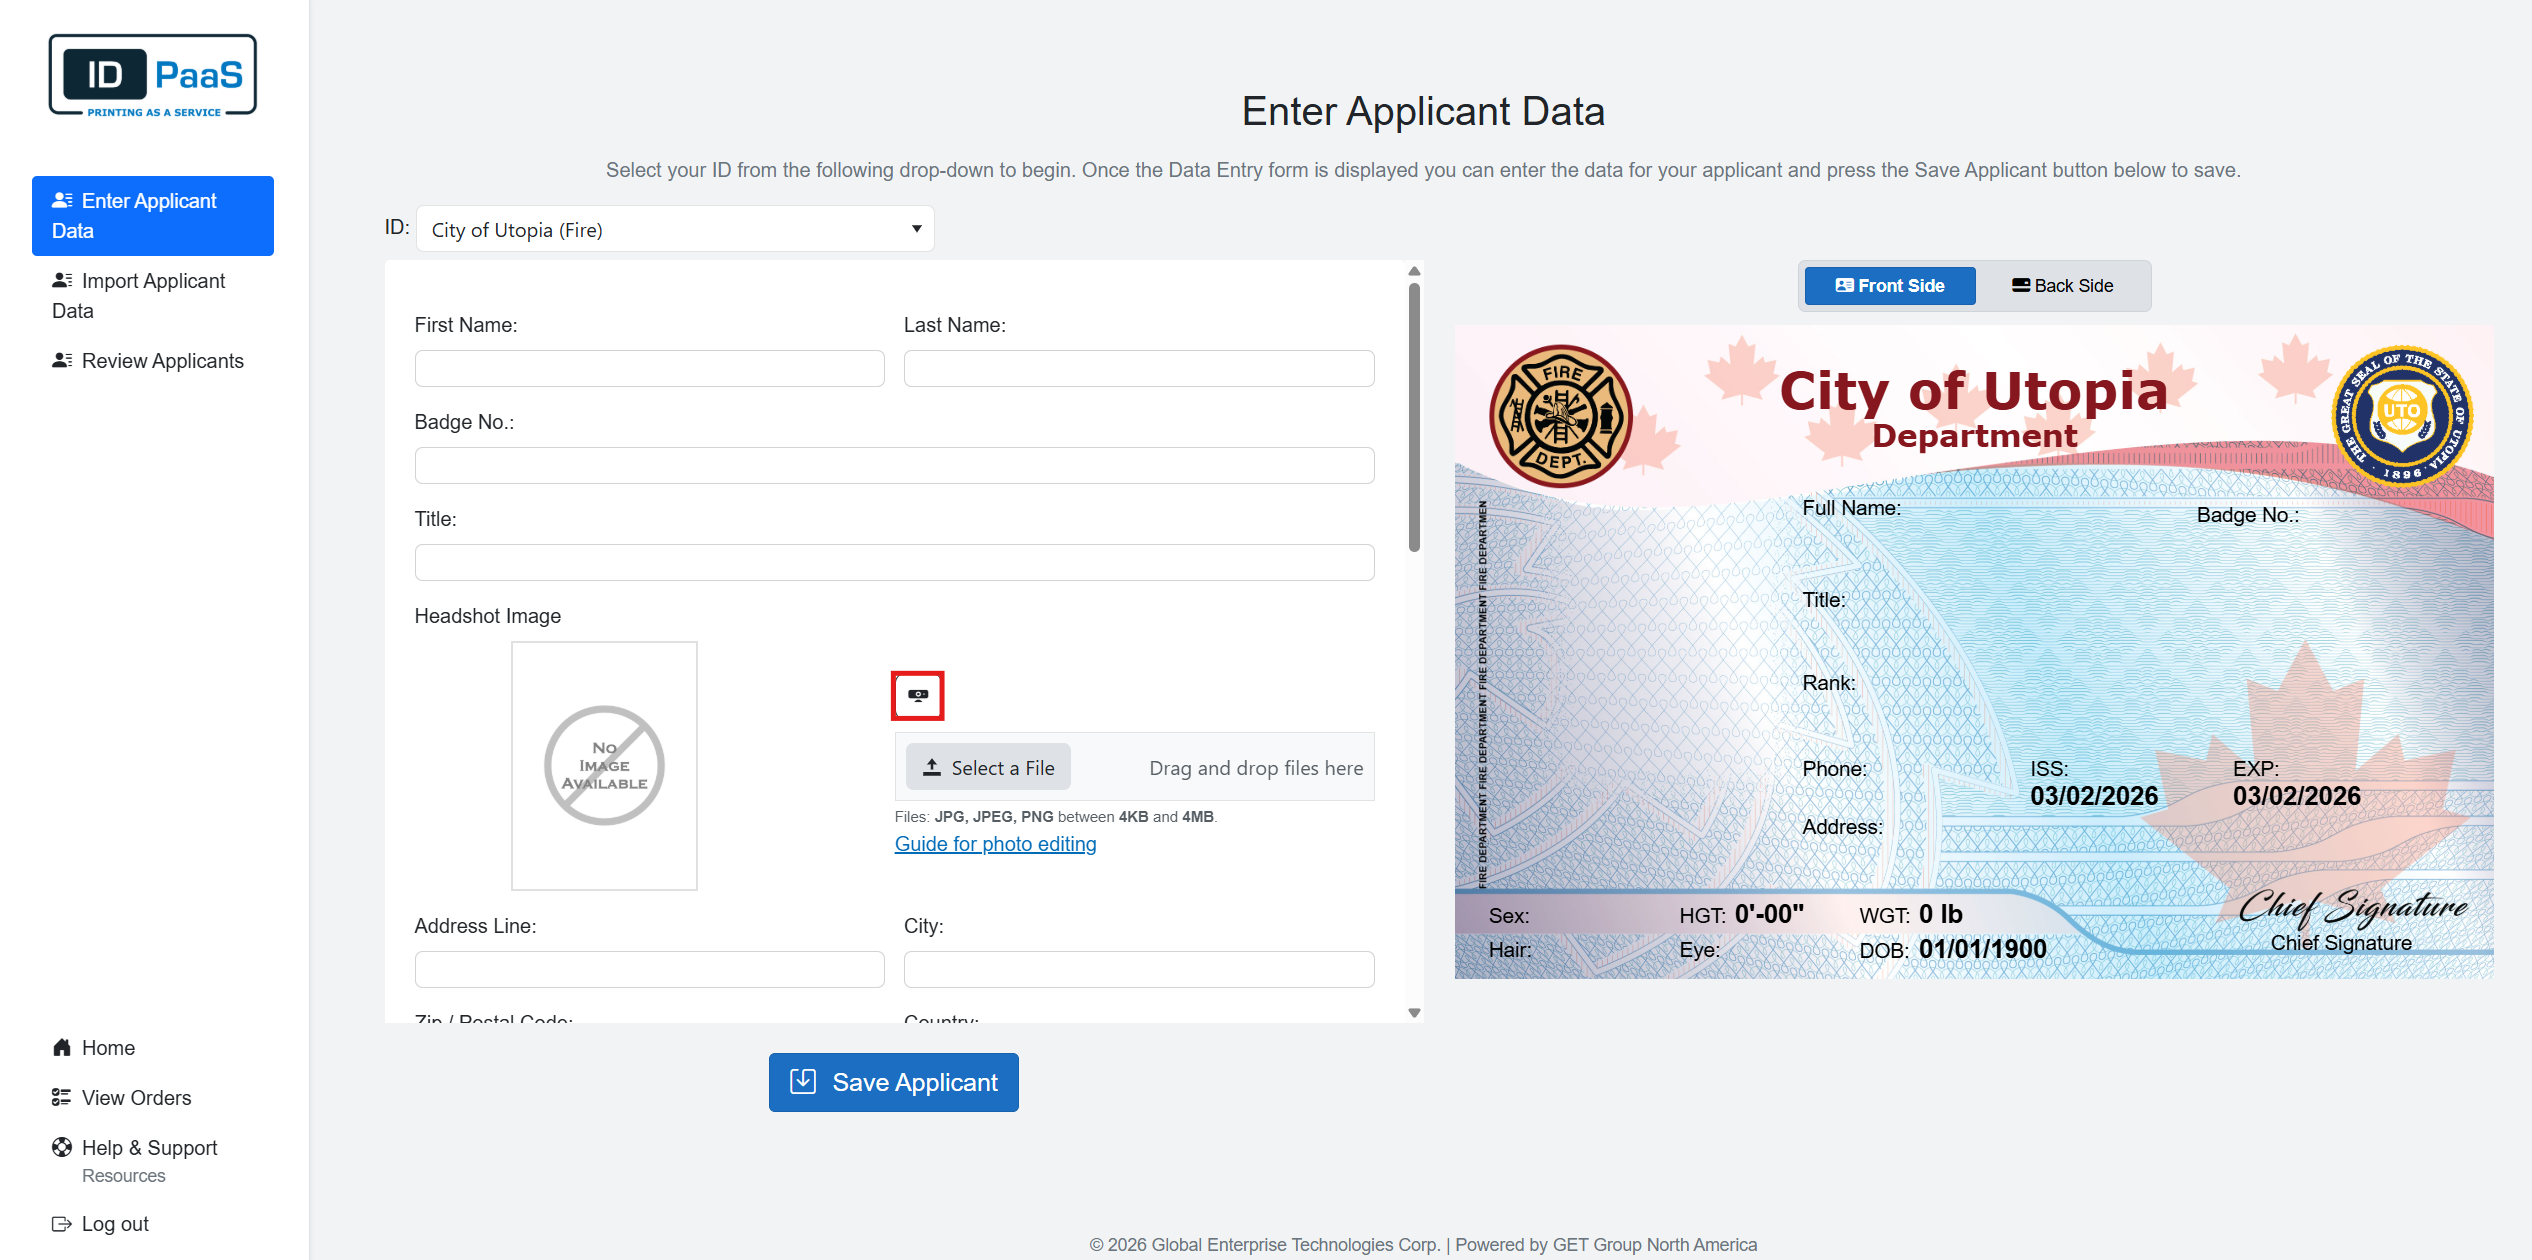
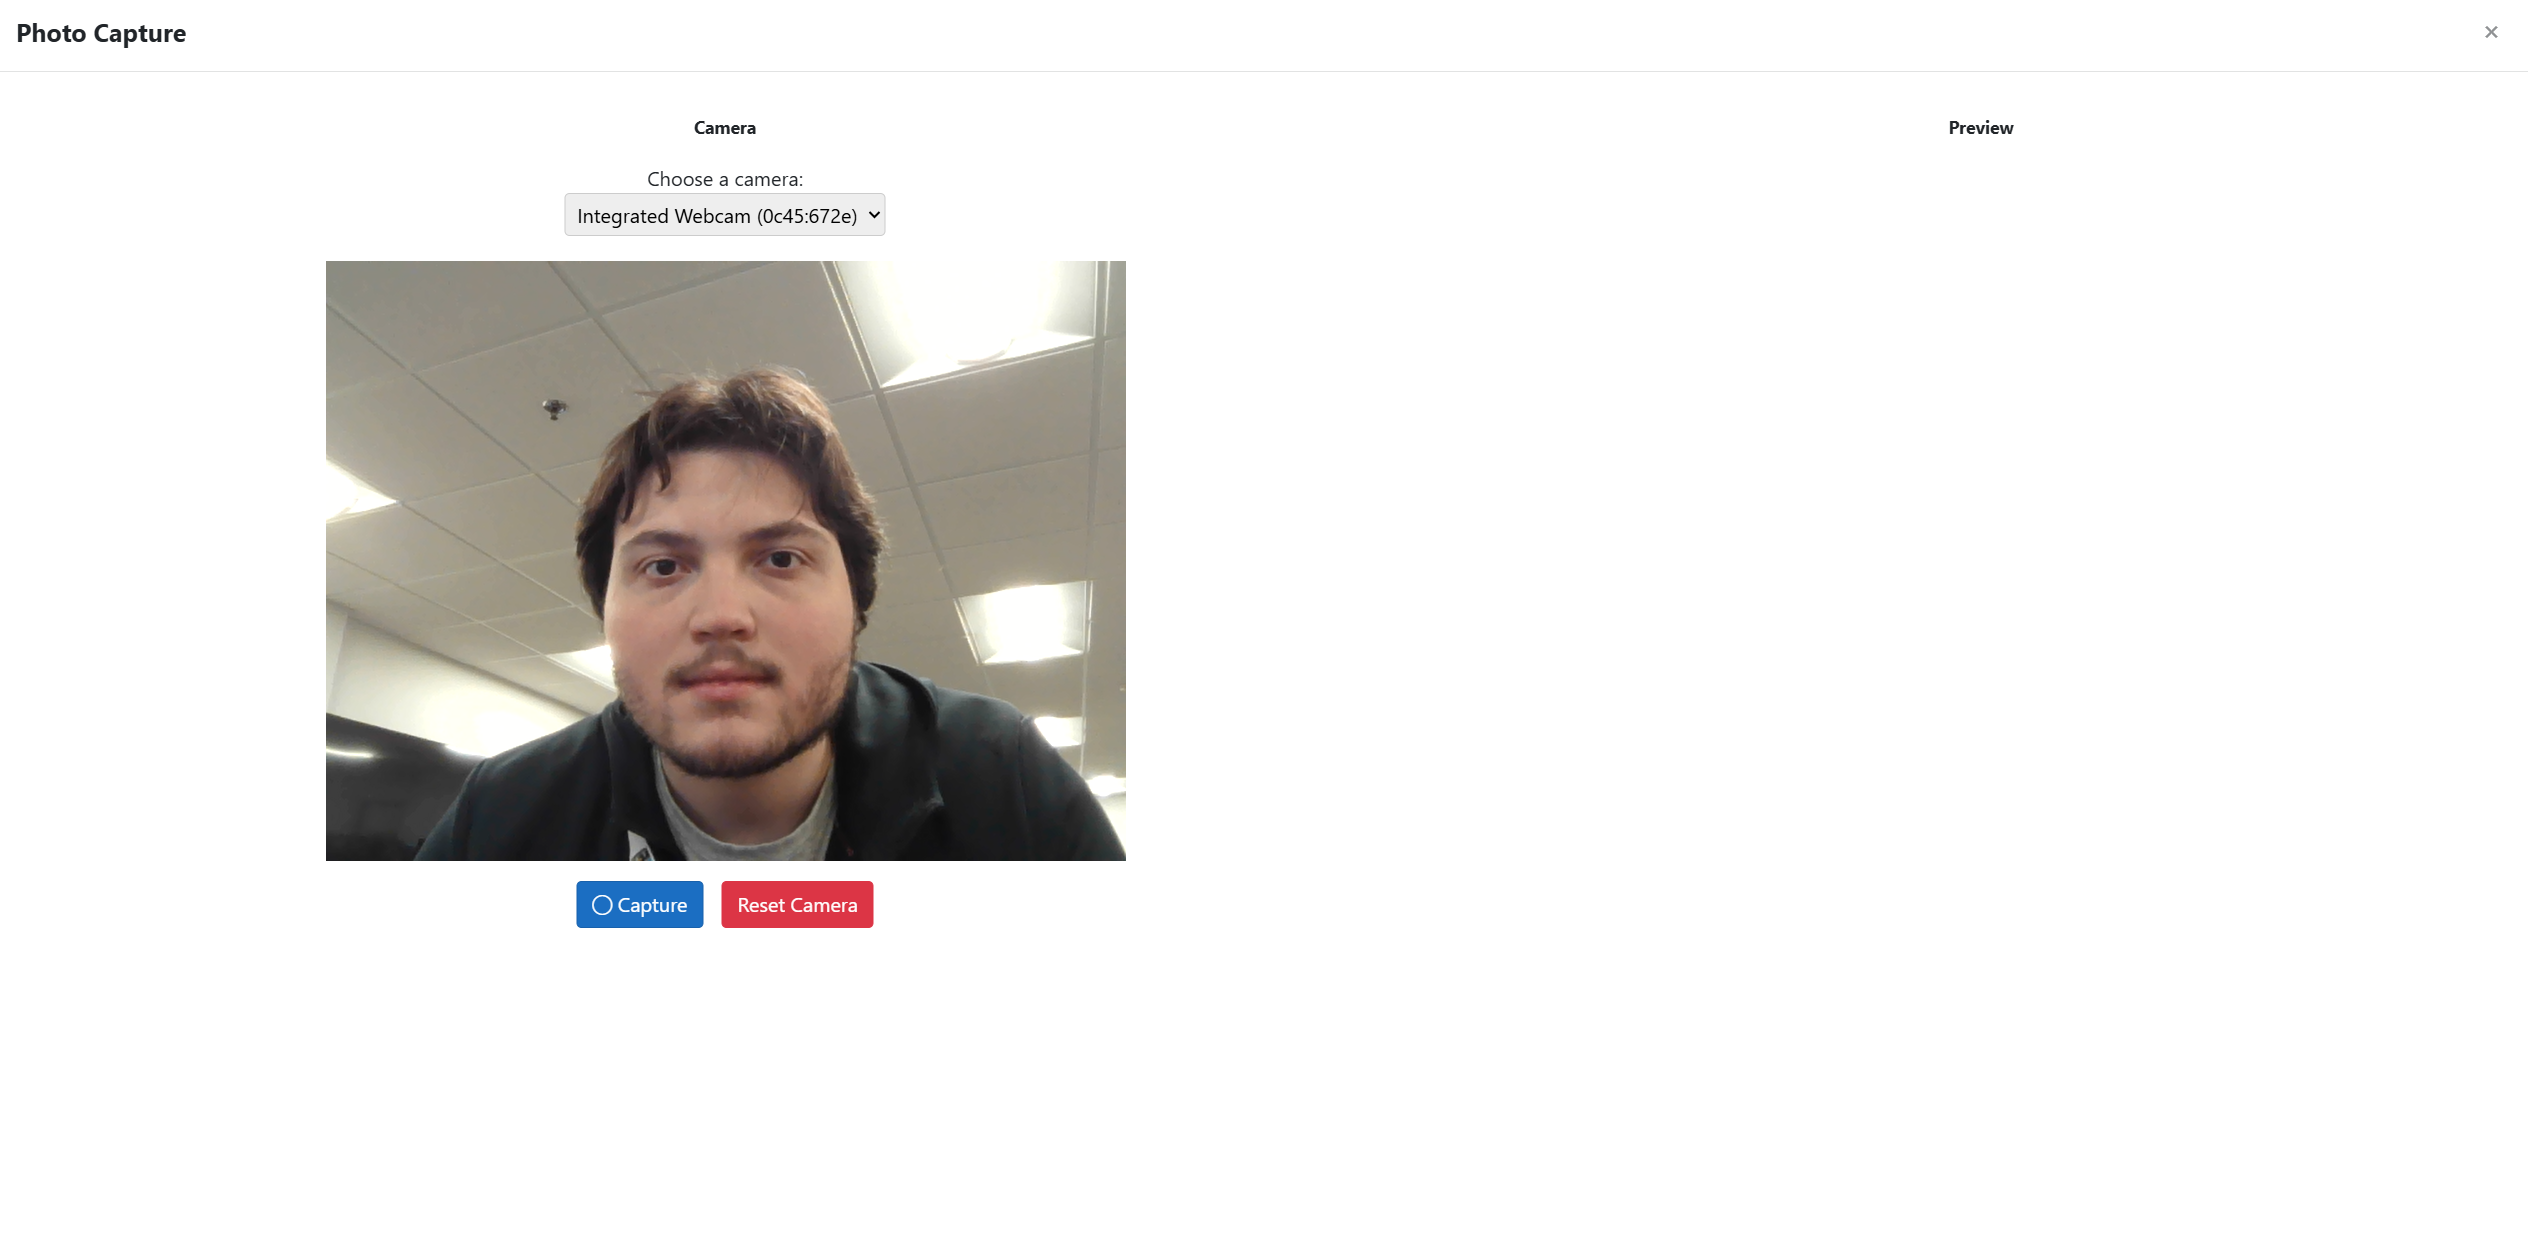
Next to the portrait, you can click the camera button to open up the Photo Capture mode.
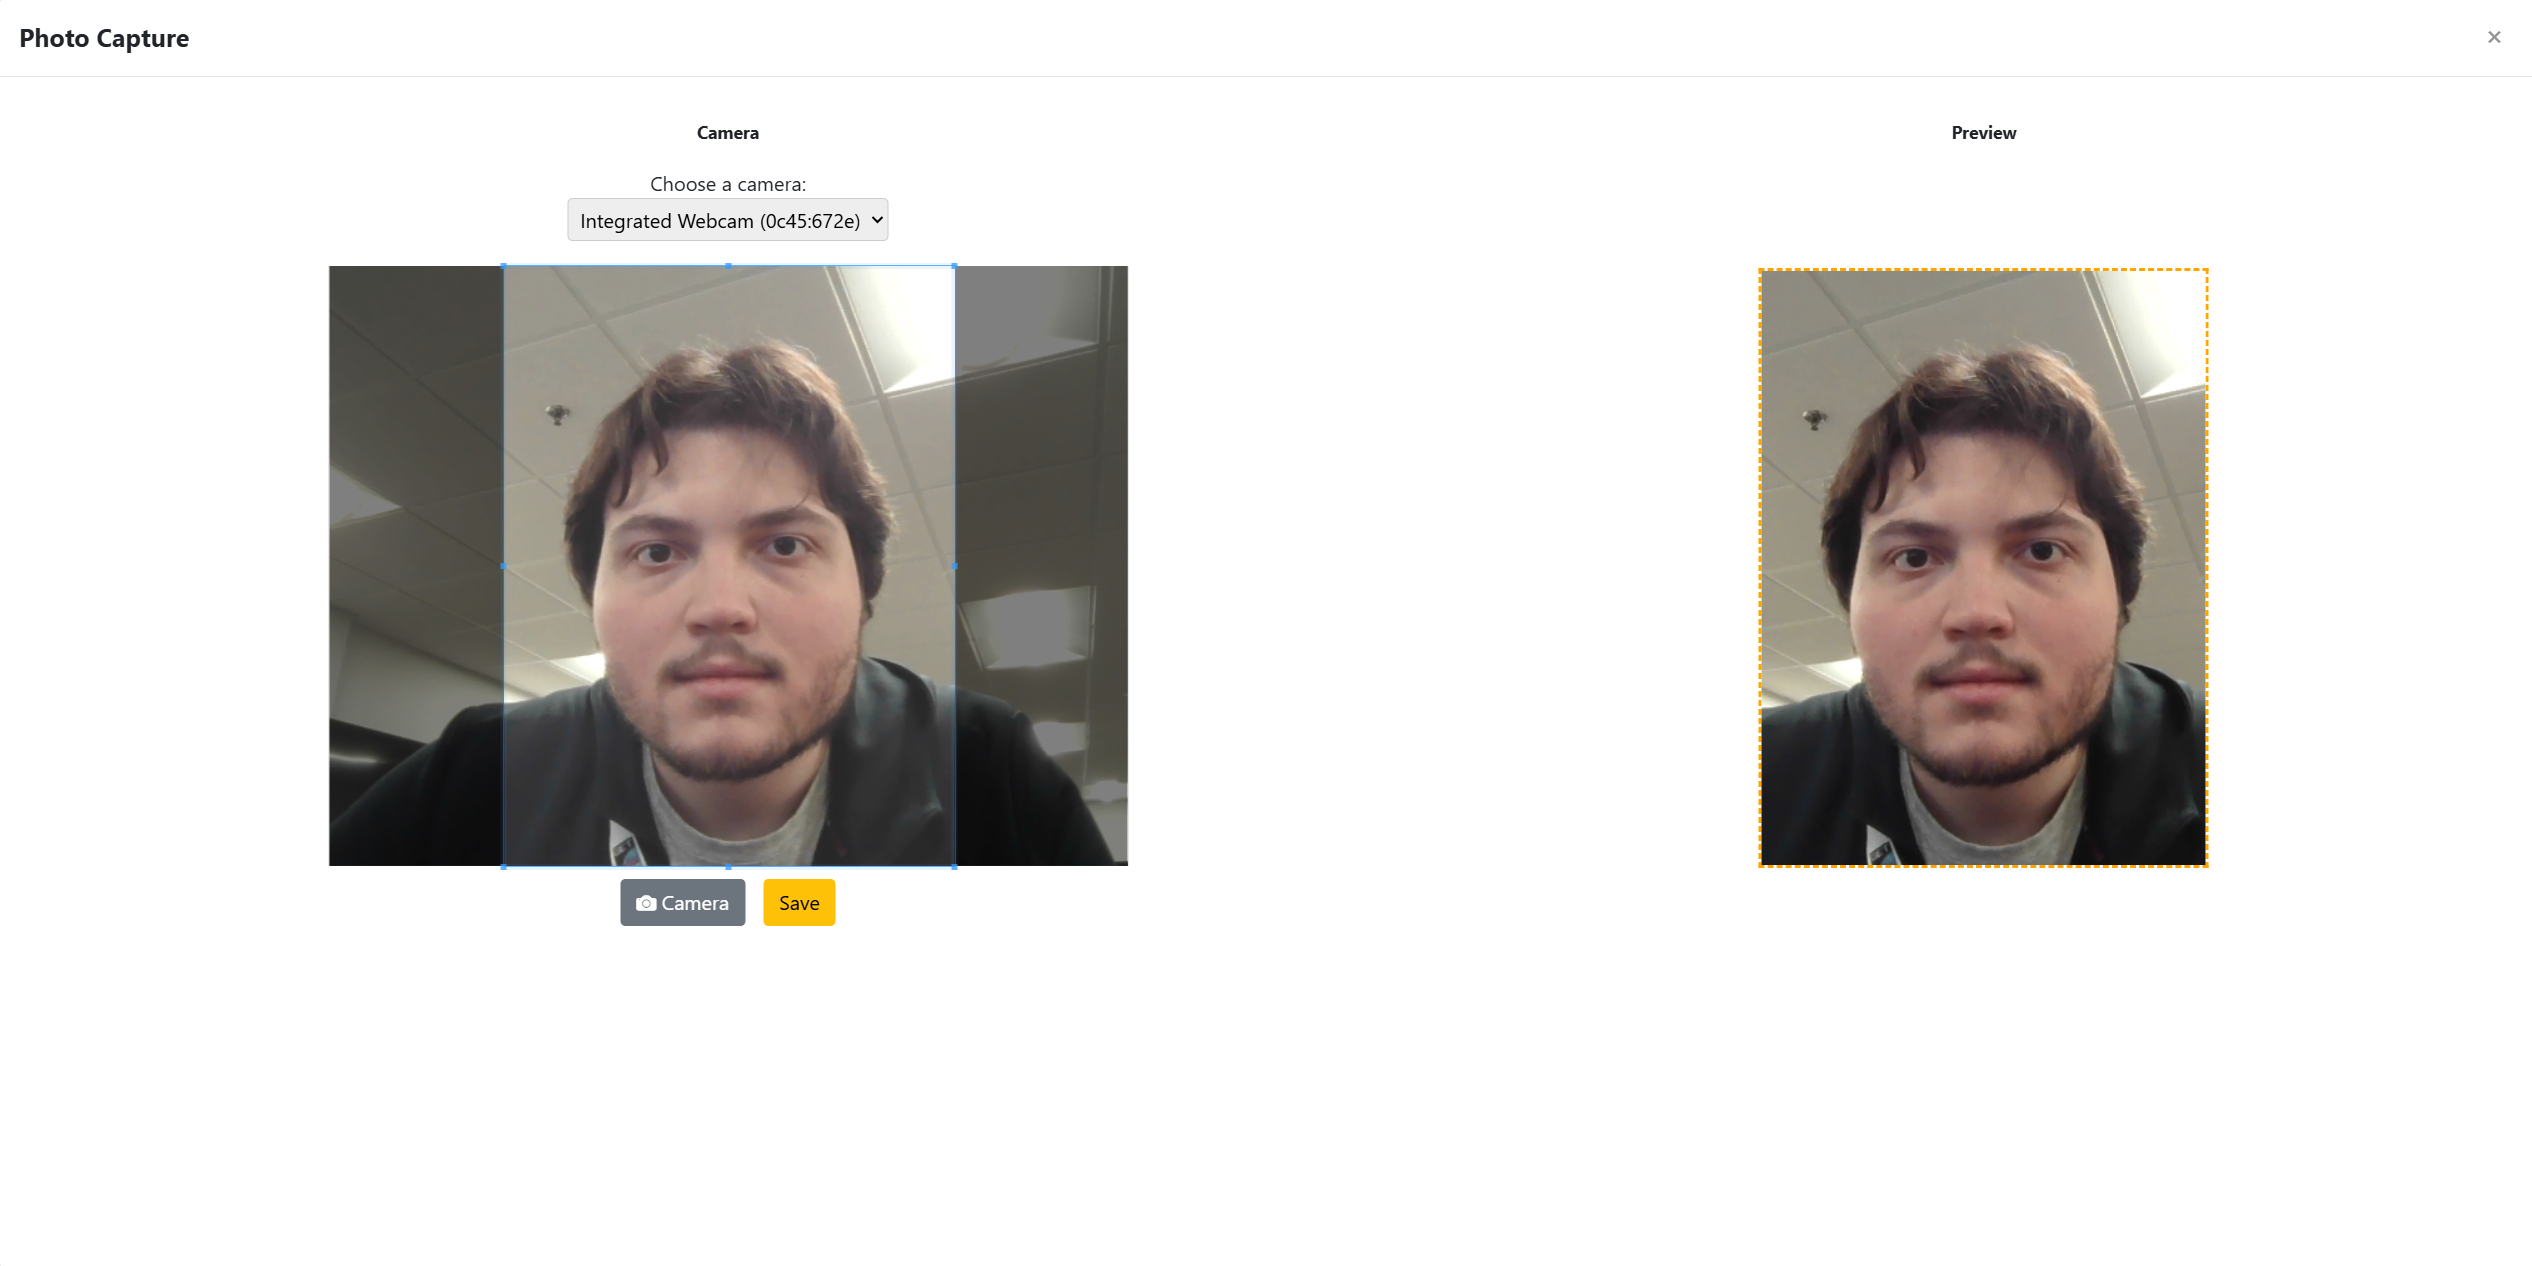
Here you can use your own camera to take a photo to upload to the applicant. You will see three main controls
- Capture - Capture the Photo and go into edit mode
- Camera - Return to the camera mode
- Reset Camera - Reset the Camera
- Save - Save the image
You may also select which camera you are using at the top of the page via the drop-down list.
Like in the Customize Card Section, when you fill out a field or upload a logo, you will get a live rendering of that change on the card on the right.
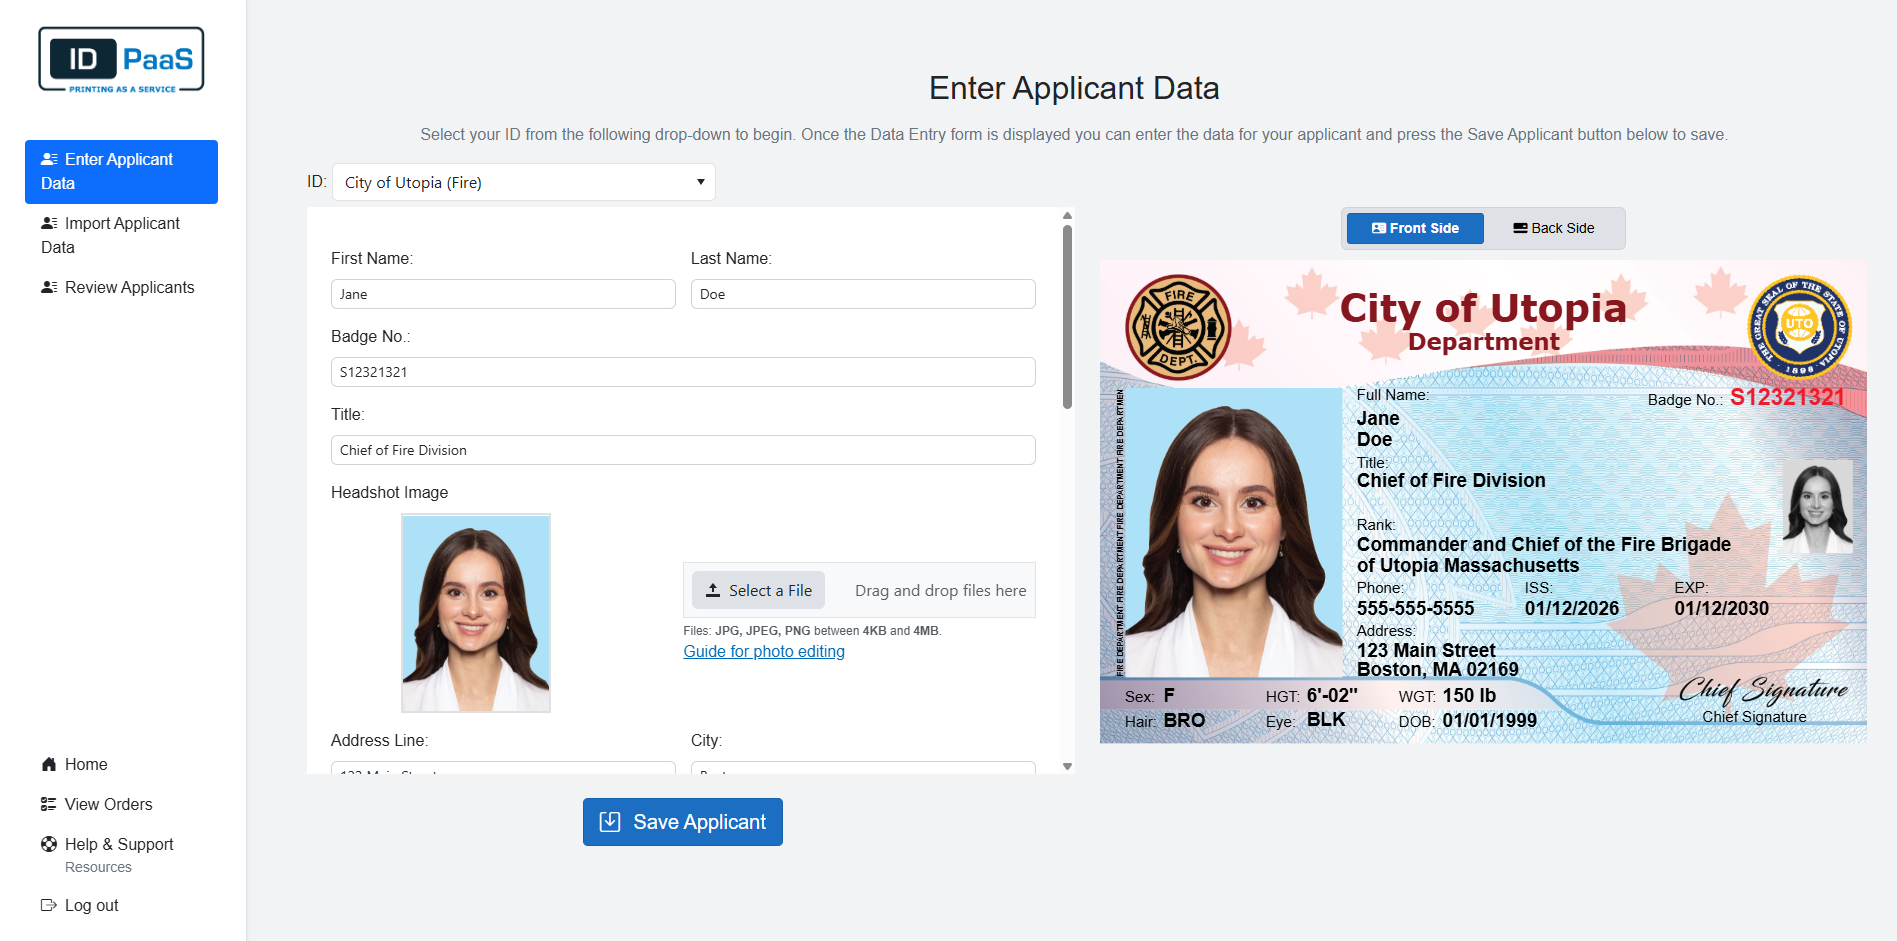
Once you are satisfied with your Applicant, please click the "Save Applicant" button at the bottom. The Applicant will be saved, and it will clear out the information for your next applicant. At any time, you may switch the ID if your Applicant is using a different ID.
There are a few restrictions for enterable fields. If you break any of the restrictions, a red mark will appear over the text box and if you press the Save Applicant button, a warming sign will appear.

After fixing the issues and clicking "Save Applicant" again, the save will briefly display a green check mark before clearing the screen for you to enter the next applicant.
Down below are the Character Limits for the fields in the UI.
| Fields | Character Limits |
|---|---|
| First Name | 40 Characters |
| Last Name | 80 Characters |
| Badge No | Infinite |
| Title | 120 Characters |
| Rank | 120 Characters |
| Address Line 1 | 108 Characters |
| City | 20 Characters |
| Zip code | 10 Characters |
| QR Code URL | 200 Characters |
| Supervisor Name | 120 Characters |
| Supervisor Title | 120 Characters |
The IDs have their own character limits, please review the live rendering before you save your applicant and review the Print Preview before submitting your order.
For Fields that may turn into images like the Badge Number Barcode or QR Code URL, please confirm that you can scan the QR Code/1DBarcode. Using too many characters may render the images to not be scannable.
This is not the only way to add applicants; you can also import applicants via an Excel or CSV file.
Please click on the Next button to See importing Applicants.